


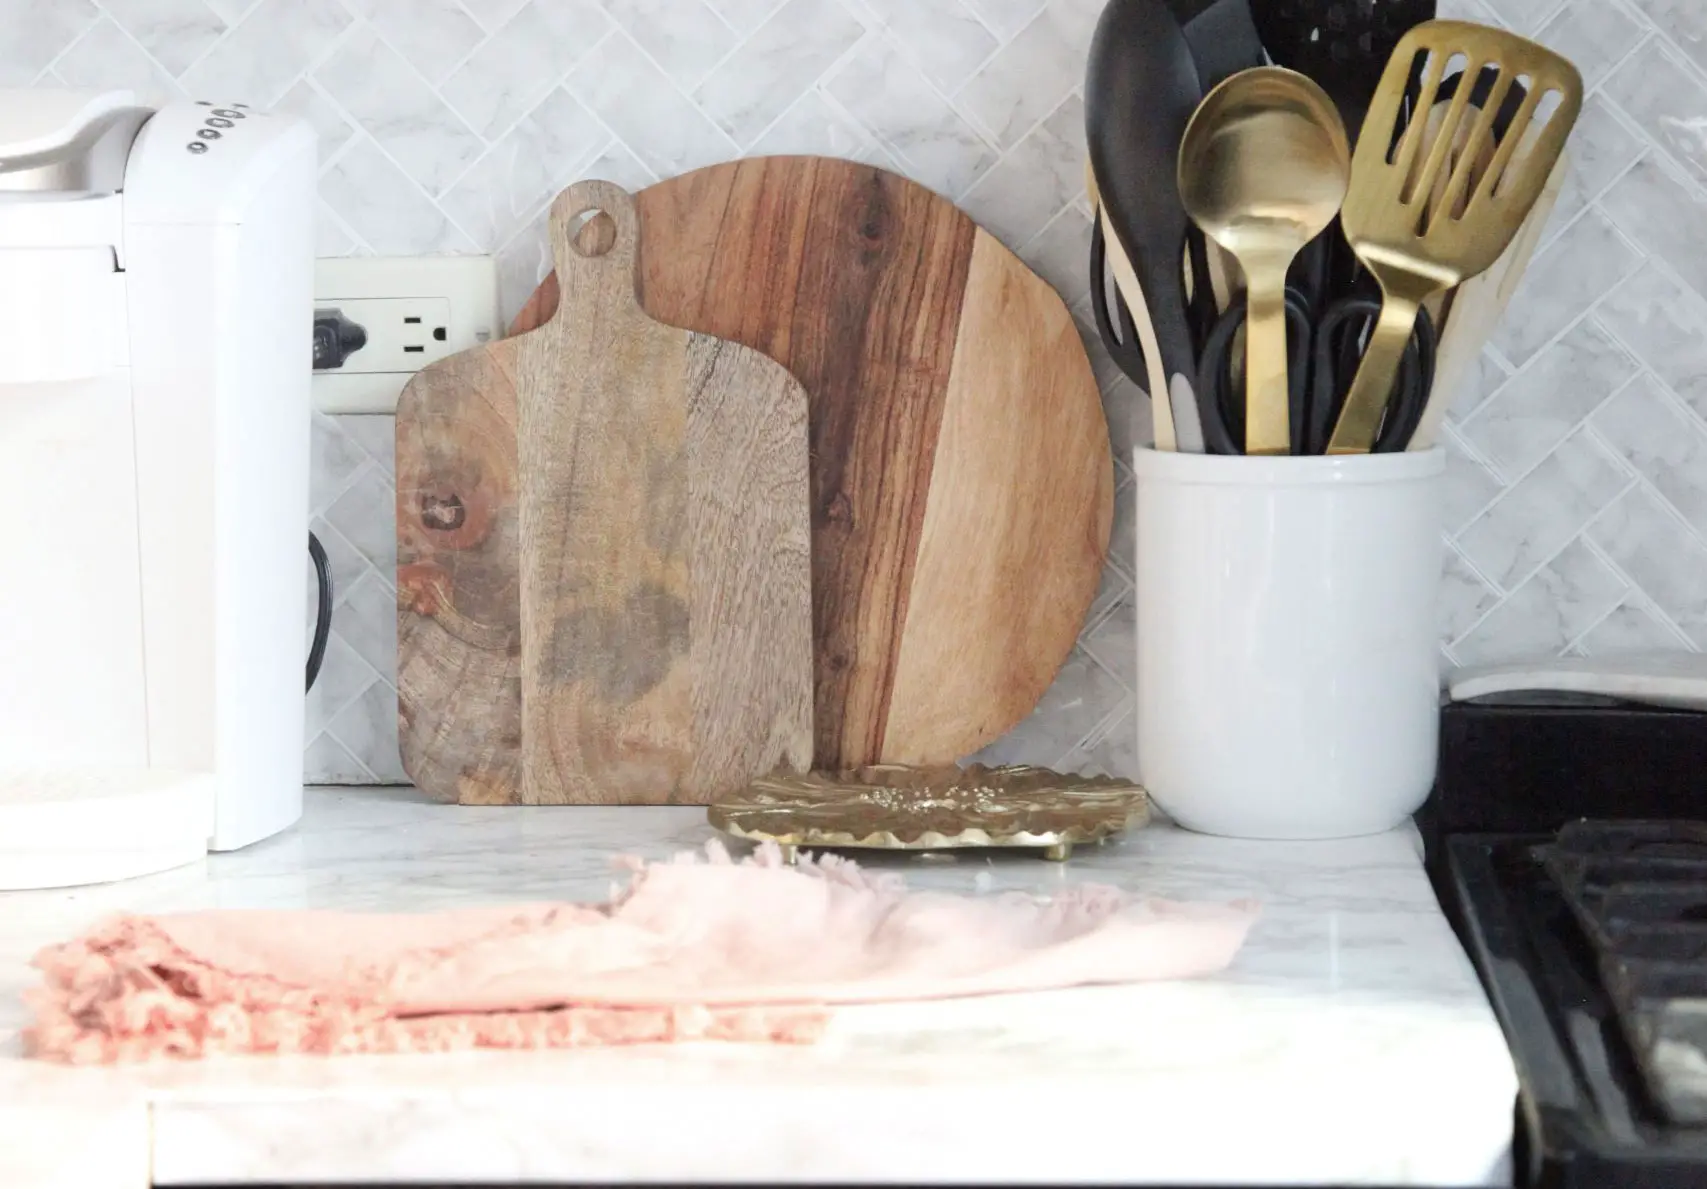


Using contact paper is one of my FAVORITE tips for rental spaces. Whether it’s using it as a faux countertop or for a modern backsplash, contact paper is such a versatile product to utilize. I mean, it can completely transform the look of your rental kitchen! I know there are many who struggle with applying contact paper, so here are my go-to rules, tricks, and hacks for applying AND removing it with ease.
ITEMS YOU WILL NEED


1. Measure WIDTH of countertops and cut an extra 3 inches for safety
Some people make the mistake of applying contact paper vertically down their countertops vs. across horizontally. Doing it horizontally will reduce the seams.

2. Always use a smoothing tool to apply it
You can purchase smoothing tools for as little as $4 on Amazon. A smoothing tool will reduce bubbles and ensure that your contact paper is applying as evenly as possible. When you hit a corner, use a utility knife to cut around edges like a sink.
3. Only unroll the back a few inches at a time
Begin by sticking the first few inches to the edge of your countertops. Then, slowly unroll the back a few inches at a time.
4. DON’T worry about a few air bubbles
The key with contact paper is to unroll it slowly while using the smoothing tool. Many people hyper-focus on “bubbles,” but the naked eye will NOT notice the bubbles if it’s a marble pattern. If you want to pop the bubbles, use a clothespin and smooth the bubble over!
WHEN IT’S TIME FOR REMOVAL

5. Remove with a hairdryer
The heat will help unbind the adhesive of the contact paper to your surface. It should be pretty easy to peel off.


6. Remove SLOWLY
Just like applying it slowly, you should also be removing your contact paper slowly. This will ensure that it comes off all in one piece!

7. Utilize adhesive remover
IF you feel adhesive on your counters after the removal, use Goo-Gone OR Goof Off.
8. Do not apply contact paper to a surface that’s not stone or tile
You can if you want, but you’ll risk peeling the surface underneath off. If you need to cover a laminate counter, make sure to find a contact paper that’s meant for laminate surfaces.
ITEMS YOU WILL NEED
And there you have it! That’s how easy it is to apply and remove contact paper. Will you be trying this out in your own home??


Hi Chelsey,
Your blog looks great and there’s lots of really good, helpful tips. I have a question regarding contact paper, please. I put contact paper over some plywood about 4 years ago and used it as a background for a dart board. It worked great BTW but now I’d like to use it for a background for a large painting and I’d like to change the color. I don’t want to paint over it and I don’t want to try to peel it off. Is it possible to just put new contact paper over the old contact paper?
Thanks,
Jim
Gzooh Kitchens is the best most famous Ghost Kitchen in Canada. We provide a different types of online delivery services like Dark Kitchen, Virtual Kitchen and Ghost Kitchen.