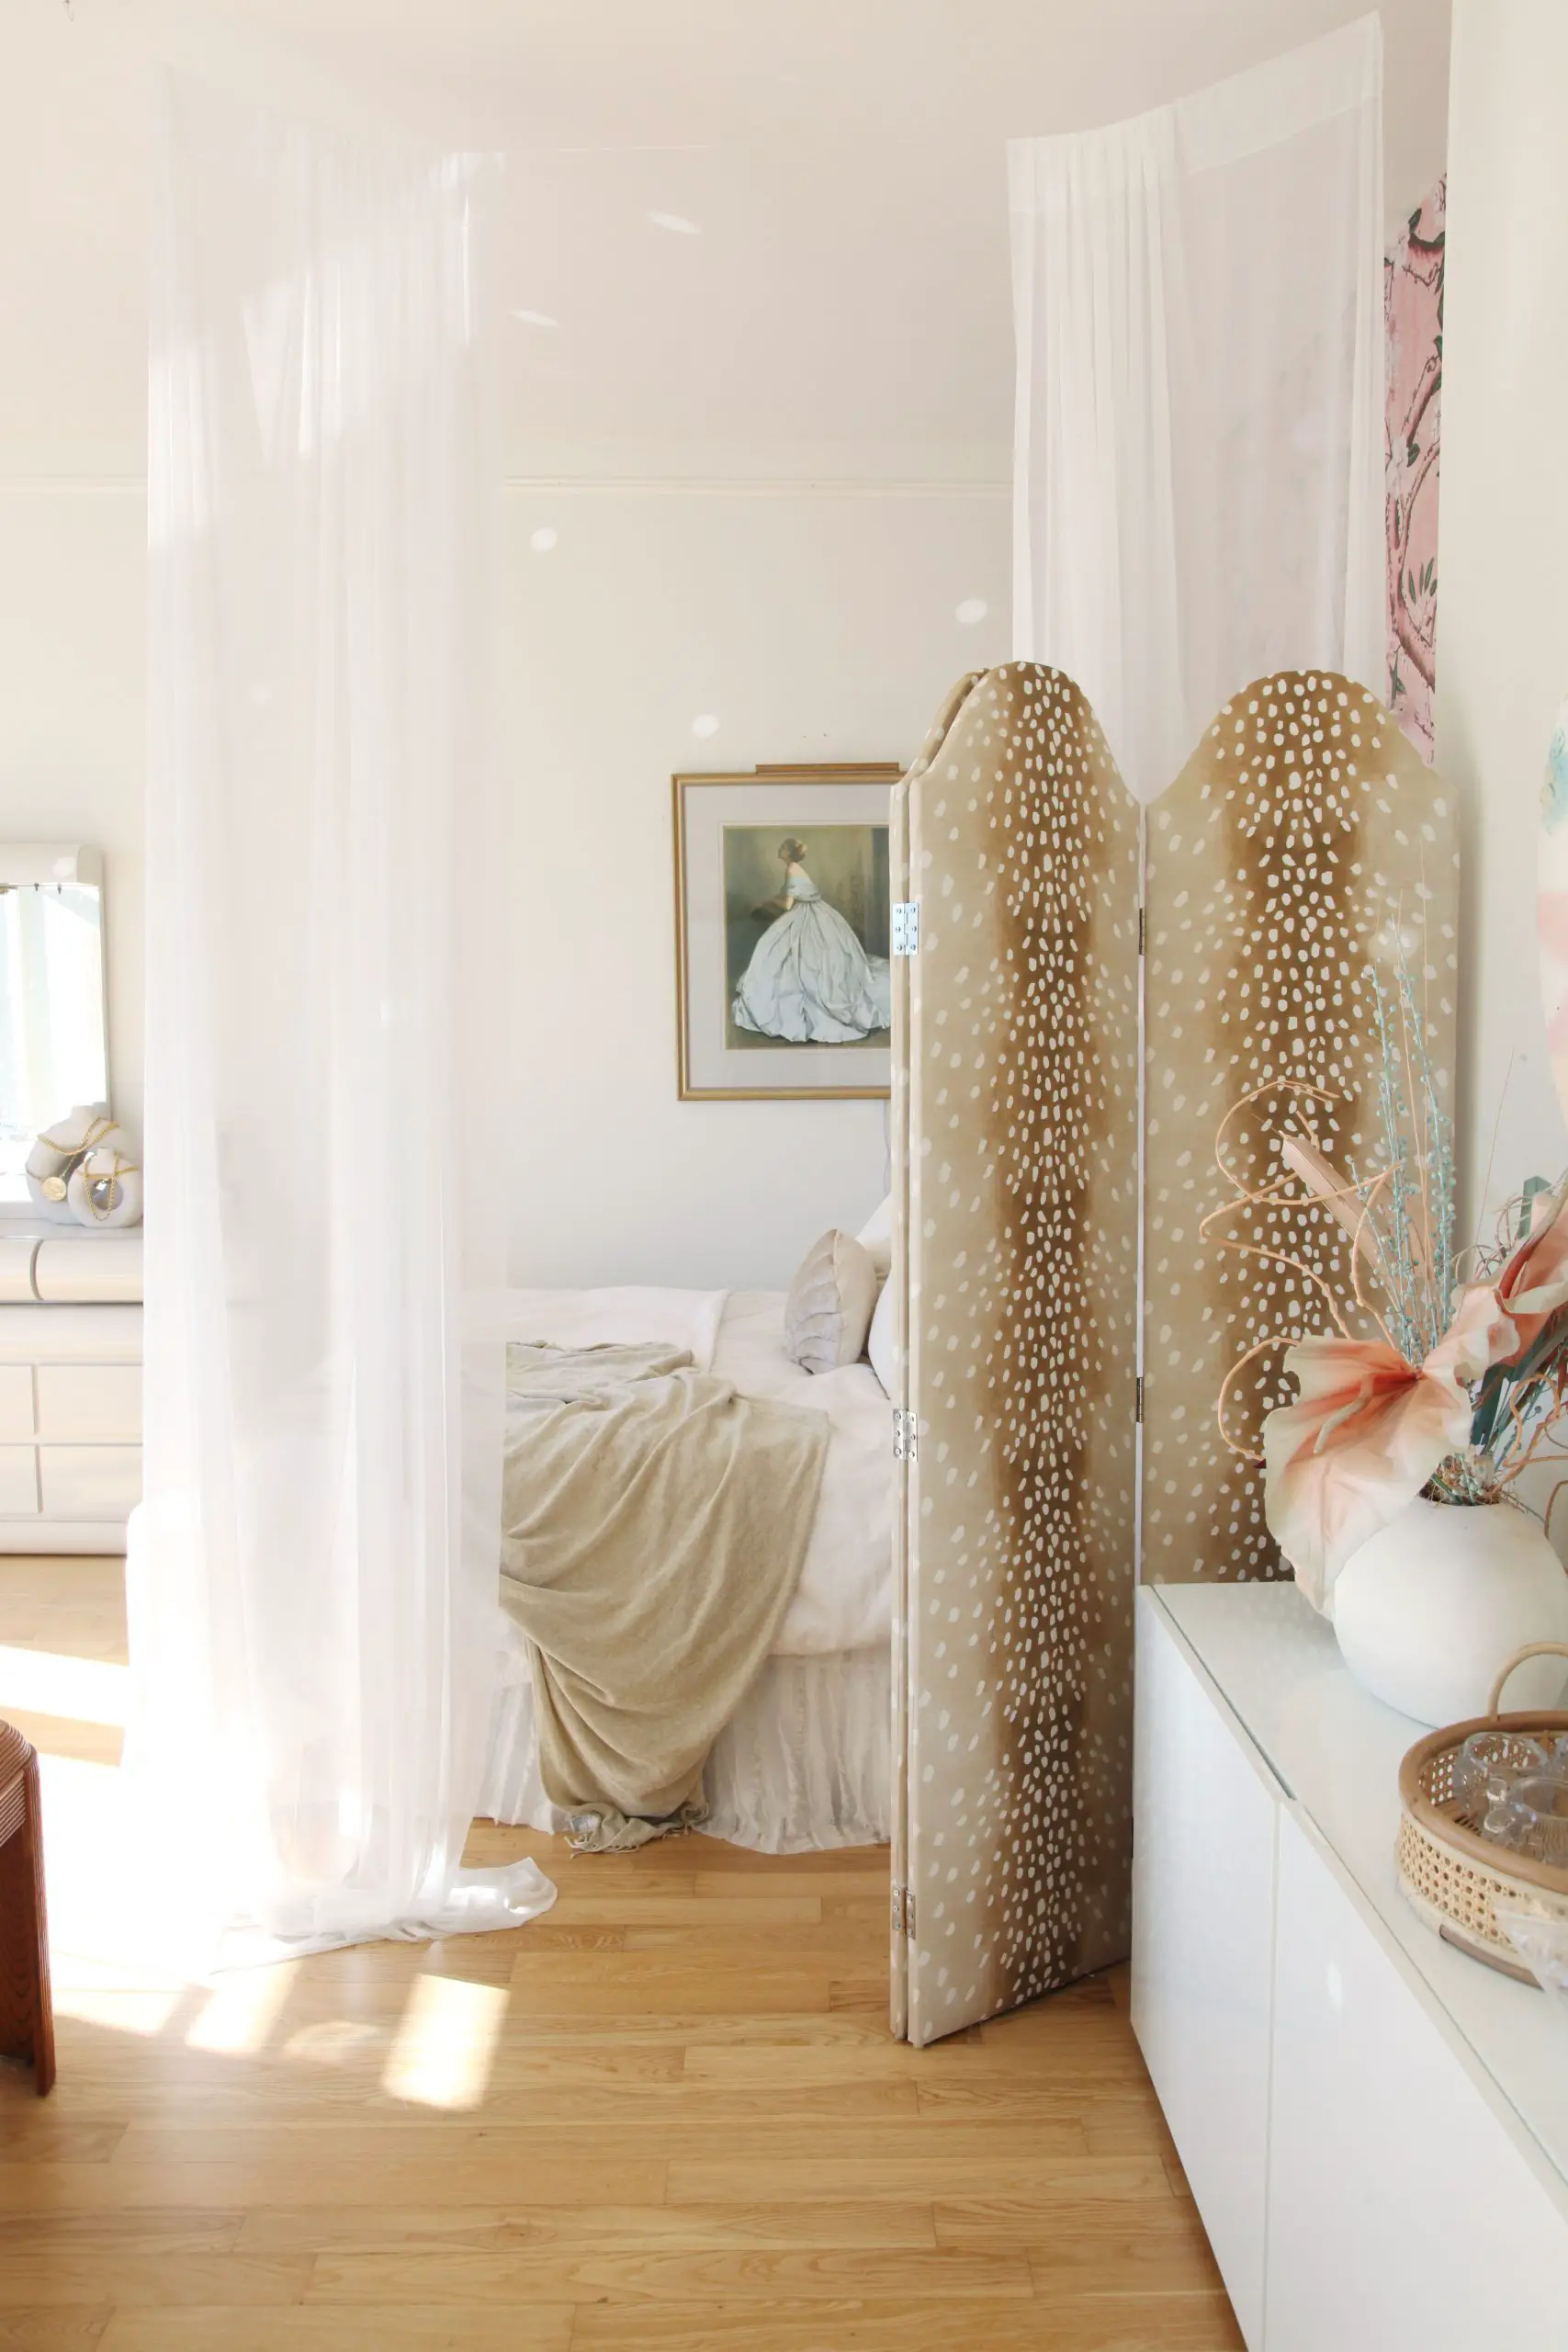
Since I live in a studio, it was imperative that I found a way to separate my bed area from the rest of the space. Not just for layout purposes, but also for functionality. I always find that when people come over, they always seem to think my bed is a seating area ????

I know many of you who live in studios struggle to find ways to separate the bed area from the rest of your space. Today, I am going to show you how I created a sheer room divider for less than $50 – and in less than 30 minutes!
ITEMS YOU WILL NEED:
Before I begin, I want to point out that I also have a traditional room divider for privacy purposes. Originally, I was just going to use this as my sole room divider, but realized that I also wanted to add curtains for an extra layer of “divide.”
The items you will need are:
-
- Two command hooks
- Clear wire
- Glue
- Sheer curtains
- Scissors
- Frame hook (optional – this is a weird one but I’ll explain)
 First, I measured the wire and cut it based on how long I wanted it. Next, I placed a command hook on the wall near my bed.


You’ll want to tie a knot at each end of the wire you cut and glue it so the knot will permanently stay put. Then once it’s dry, you’ll loop one end over the command hook you already have up. It’s that easy!

Next, you’ll want to attach your second command hook either on the ceiling or at the other end of your room on the wall. Honestly, it just depends on how you want it. I wanted the curtains to stop where the bed ended which meant I needed to attach my command hooks to the ceiling. Unfortunately, I needed to hang something off the end of the command hook to level it with the command hook on the other end of the wall – hence, the frame hook.

Finally, you will want to loop your curtains through the wire carefully. Don’t pull too hard or the command hook might come off of your wall! Once the curtains were on, I took the other end of the wire and looped it around the frame hook.
ITEMS YOU WILL NEED:
And there you have it! I have a functional room divider that can open and close when I need it to ☺️ AND, all under $50! Will you try this in your home??
xx, Chelsey


beautiful!!!!!!!
THANK YOU!
i freaking LOVE your antelope room divider! so chic and so cute.
thank you 🙂
Thanks!!
I love your ideas. very beatiful!
This is best post for beginners. Every word is enriched with information. I am following your posts from now. Thankyou for sharing.
Thank you so much! I plan to do this today.
Love this! Setting it up in my studio this weekend. Where did you get the animal hide folding screen? That’s also gorgeous… adds great texture.
Friday, October 7, 2022
Greetings!
I wanted to thank you for sharing your great idea of using curtains as a room divider! I especially appreciate learning your method for hanging them – I don’t have a curtain rod and your idea is far
better anyway – I like the flexibility it offers. I rent my small dwelling, and landlords typically don’t dig
renters putting up stuff that requires fixtures that curtain rods do – your brackets are not as problematic as the rods are, and can be easily removed when it’s time to relocate. A friend gave me a bunch of nice sheer curtains that I’ve been wanting to use – now you’ve taught me how I can do just that – and so easy, too!
You are utilizing the Internet the way the original creators intended it to be used – to share information and knowledge – well done!
Sincerely, Sandra