Hi everyone! I am SO excited to write this post because, as we all know, kitchen makeovers are my favorite projects to work on.
GET THE LOOK


This makeover came in at $150 and only took a total of 4 hours to complete! This kitchen transformed from bland to luxurious while still keeping all the changes rental- friendly.

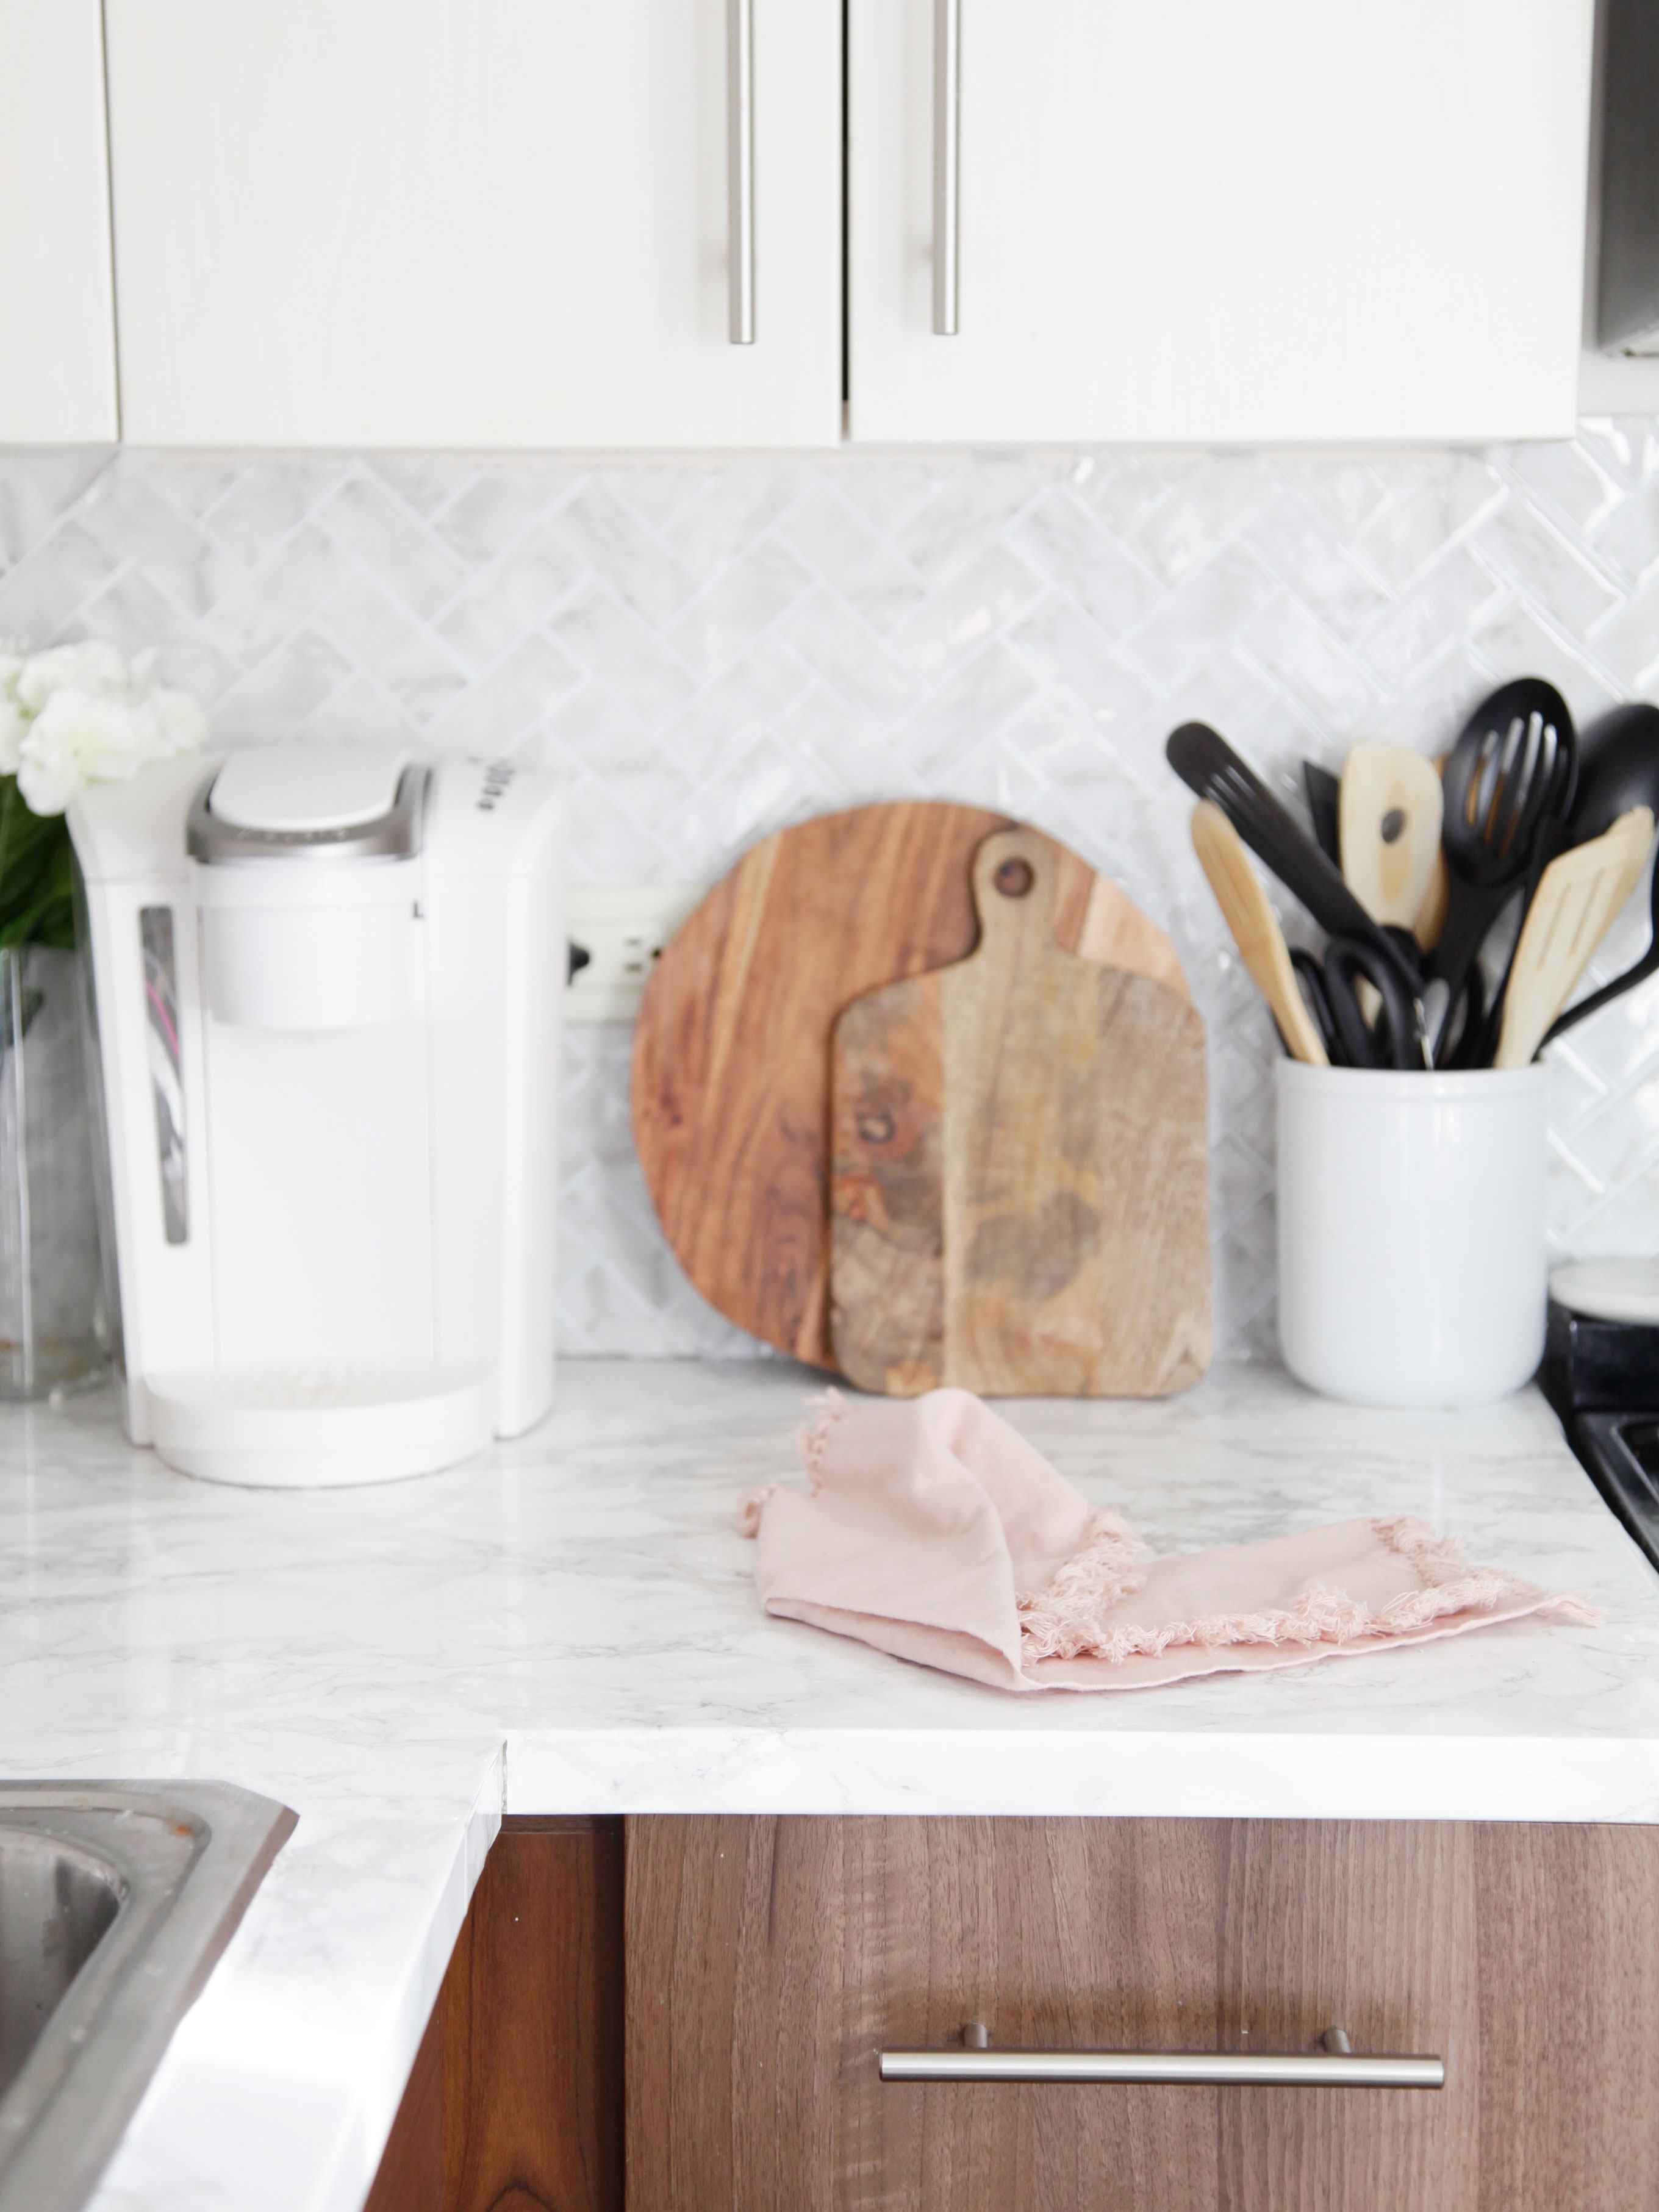
Since the kitchen was so small, I wanted to stick with mostly white accents. I felt like marble was the perfect way to not only get that luxurious feel I wanted, but also make the space feel more open and larger.
The first thing I did was apply marble contact paper. This is the same marble contact paper I used in my last rental kitchen makeover. The one thing I did differently this time was using a utility knife to cut around the sink instead of using scissors. The great thing about marble contact paper is that your application doesn’t have to be perfect. It’s OK if there are some bubbles: no one will notice them as they will blend in with the marble texture.

I found this marble peel & stick backsplash tile at Walmart and not only does it look real, but also feels real! It was super easy to install, and it peels right off when the time comes to move out. The only thing you need to be careful of is applying this to a wall with just paint. It’s likely that when it is peeled off the wall, the paint will come off with it.

To save space in my cabinets, I attached a pot rail to my wall. I love this piece not only because it saves space, but also because it adds character to the kitchen! I made sure to also hang decorative cheese boards and chic measuring tools from it to add a luxe effect.
When picking out counter accessories, I stuck to mostly white items. I chose a white coffee maker, instead of black, and a white utensil holder. I also made certain to incorporate white flowers to add a feminine effect.

I didn’t change the hardware because I ended up not minding it, but you might want to think about doing that if you want to redecorate your rental kitchen. I changed the hardware in my last rental kitchen makeover, and it made such a difference in the look of the space!

The final thing I did to complete the transformation was adding a rug to cover the floors. The dark floor made the kitchen feel smaller, so I opted for a bright rug to help make the space feel larger. You can also invest in a vinyl floor covering or peel & stick floor tiles if you want to keep fabric out of the kitchen.
GET THE LOOK
And there you have it! That’s how I completed this rental kitchen transformation. Are you going to try any of these tips out in your own home? Let me know down below!

XO, Chelsey

Wow, Such a great transform a rental kitchen on a budget. You did a great job. Already bookmark this site and apply these when I am going to update my kitchen. Thanks for the sharing this.
Hi I have a question about the durability of the contact paper on the counters, does it roll up or come off easy when doing meal prep or it gets water on the surface ? Thanks
That was amazing! Loved it. Easy and frugal, my 2 favorites in updates
I like it! I also think plants are also a lovely way to help bring life to a kitchen as they are good for your health and well being. You can also use the tile squares on counter top – the self adhesive removal ones. I think this also looks good.
Love this idea!
How do you go about cutting out the peel and stick wallpaper around the power points?