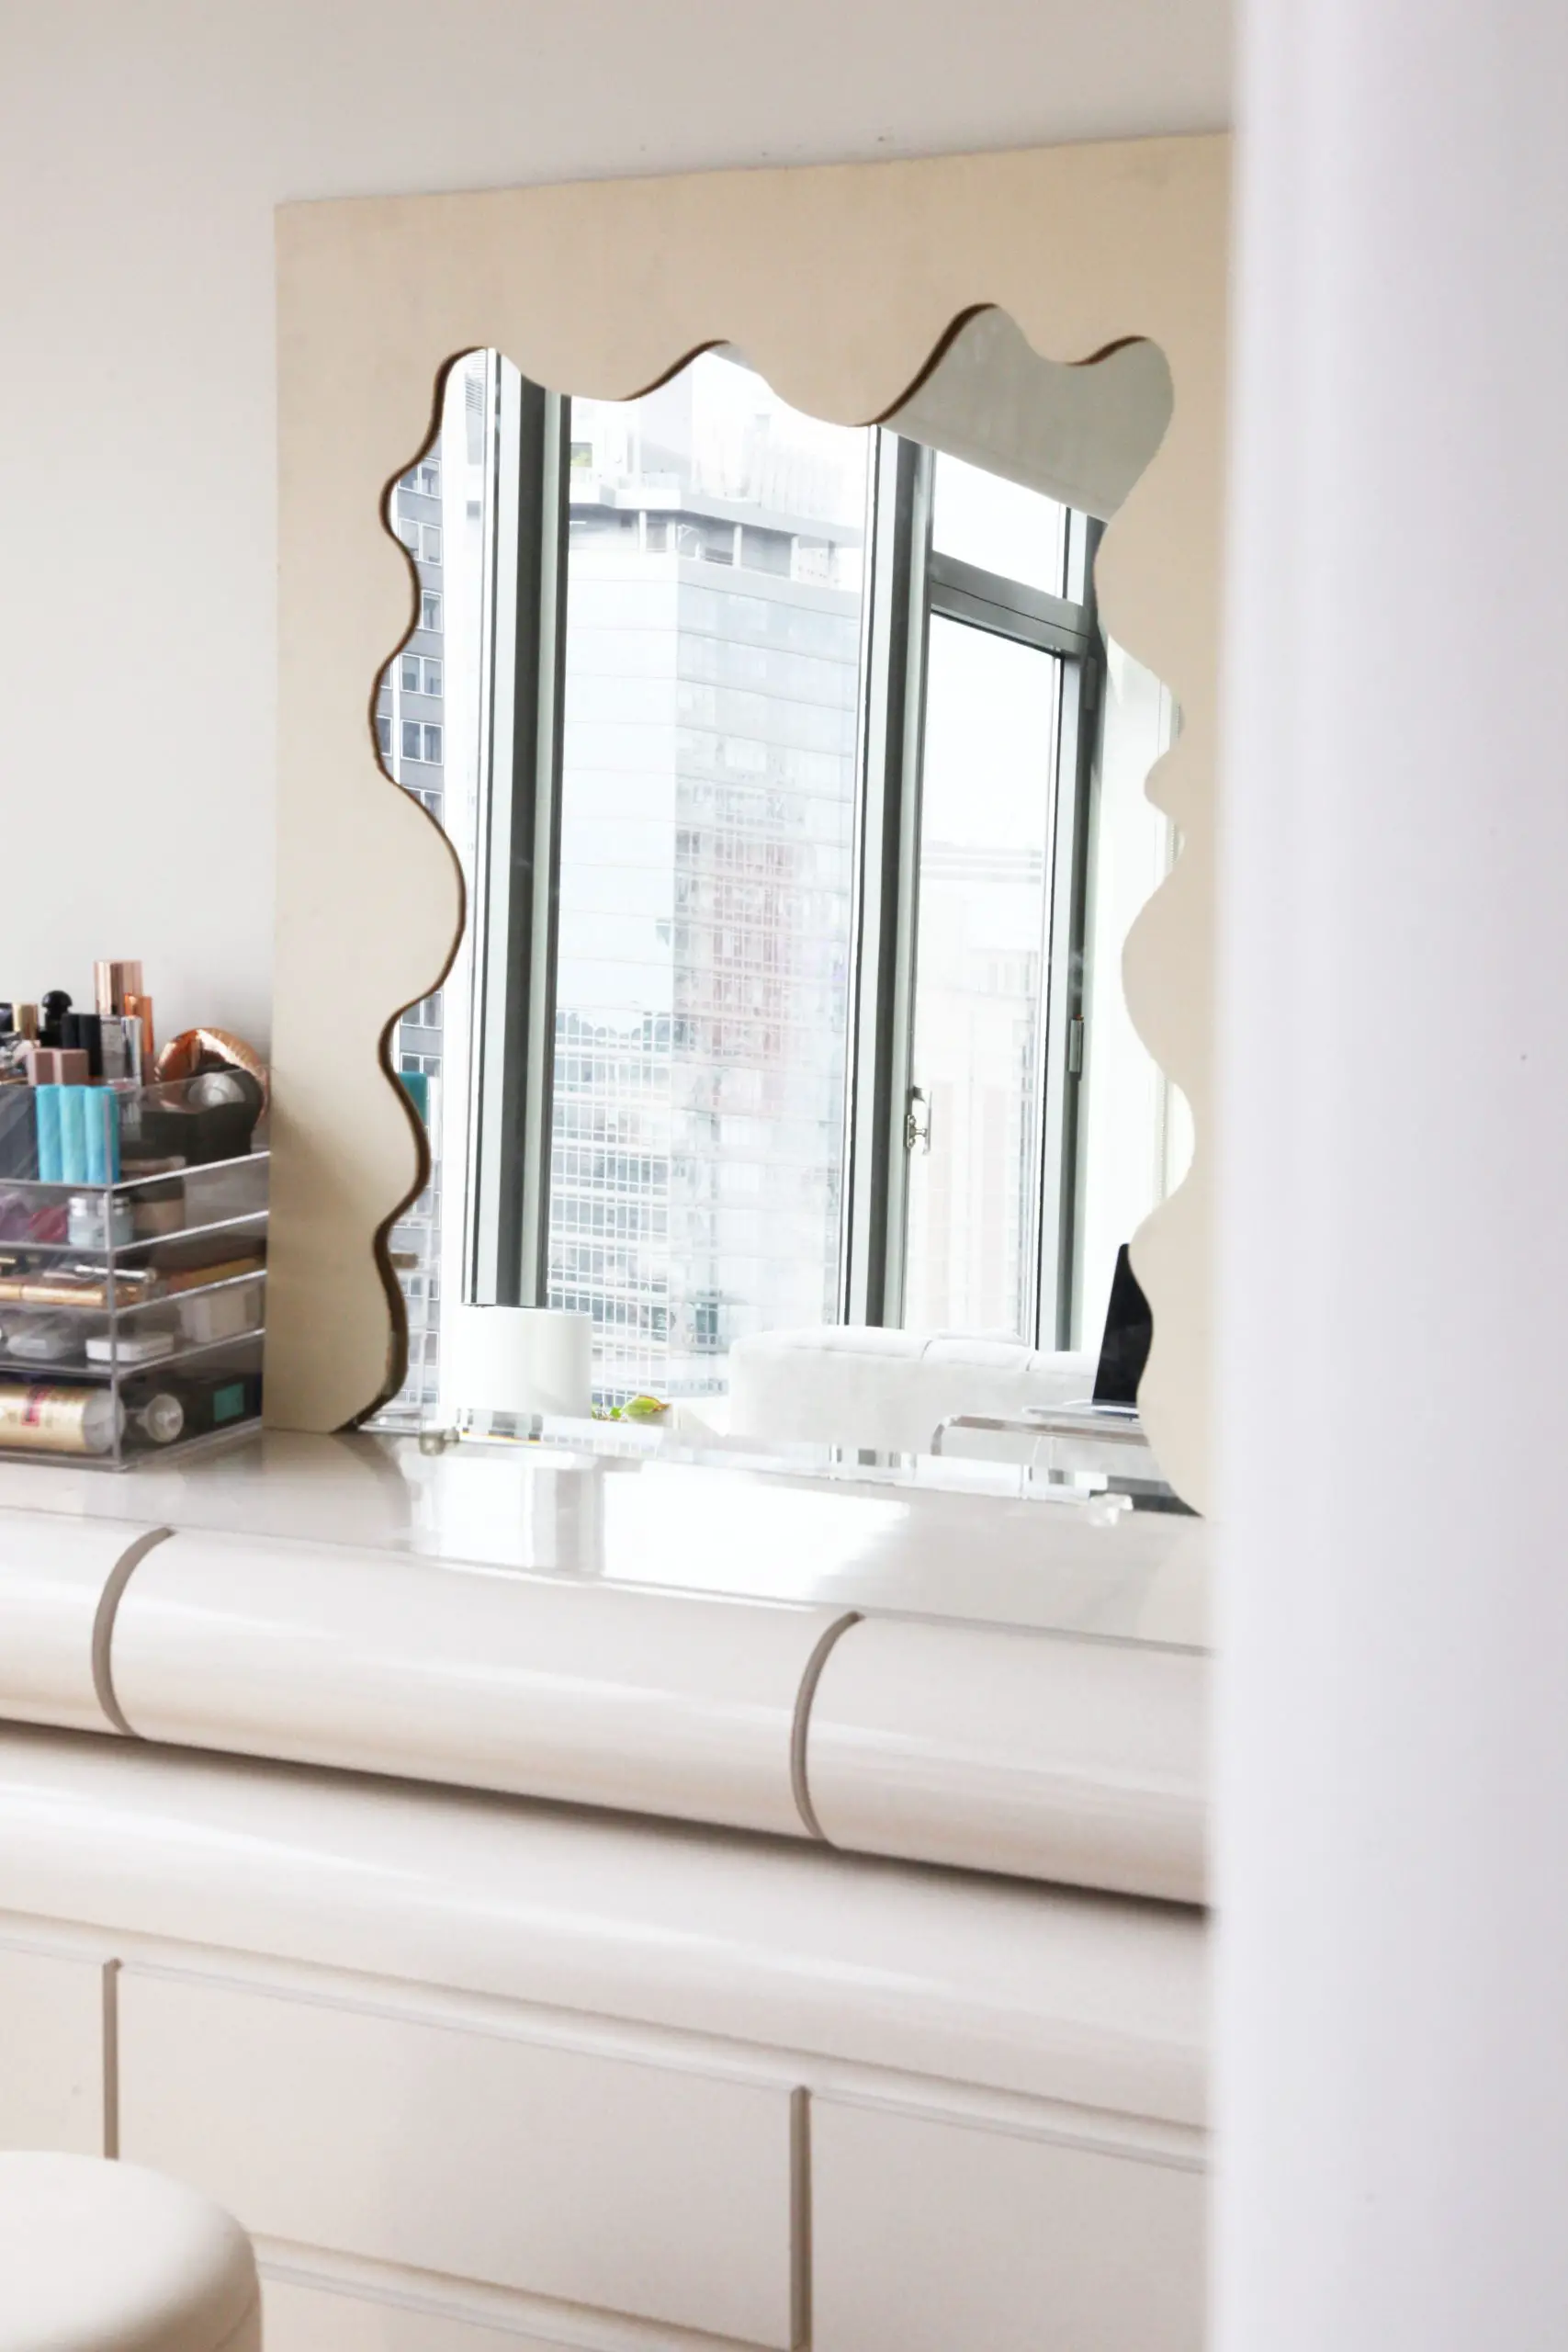
The tutorial is FINALLY here. Today, I am showing how YOU can make the squiggle mirror of your damn dreams for under $60**.
WHAT YOU'LL NEED

I’ve been trying to thrift/find a unique mirror for MONTHS now, and for the life of me, couldn’t find anything that sparked my eye. So I decided, why not make one? I went back to my parent’s house for Thanksgiving and did the DIY there, however, you can do this project in a smaller space if needed. Let’s get into everything you’ll need:
*DISCLAIMER: DO NOT WORK WITH TOOLS IF YOU DON’T KNOW HOW TO USE THEM. You can make this DIY easier for yourself by having the wood cut for you at your local woodshop or Home Depot. Just draw out the shape you want on the board and pay to have someone else do it for you. I HIGHLY RECOMMEND THIS OVER DOING WHAT I DID.
**Pricing will vary depending on if you pay someone to cut the wood for you or if you need to purchase the tools.
*** LAZY GIRL HACK: If you don’t want to work with wood, you can easily do this tutorial with cardboard, which can be cut with scissors. I wanted something more sturdy, so I used wood.
What you’ll need:
2. 5.0 mm x 4 ft. x 4 ft plywood
3. Paint of your choice. This is what I used
4. Glue or Velcro. I used Velcro
5. Pencil
If you aren’t getting someone to cut for you, then you will need these tools to cut the wood:
7. Jig Saw
8. Cordless Brushless 4-1/2 in. Circular Saw (make sure to purchase the battery/charger)
**SKIP steps 1 and 3 if you are getting the wood cut for you, which I highly recommend ☺️

First step: You will want to cut your 4’x4′ plywood into a piece that’s 38″x39″. This is also a preference, depending on how large you want the frame. This is where the circular saw comes in: You can easily cut straight lines with this tool. Do NOT do this on a flat surface: Make sure to prop your wood up before you cut.


(this was my second outline. I think I erased three different versions until I was happy with the design. This is why I recommend using a pencil!)
Second step: Once the plywood is cut, place the mirror on top of the wood and with a pencil, outline the mirror. Next, draw a squiggle shape within the boundaries of the outline. This is the outline of how the squiggles will look as a frame on the mirror!


Third step: Use the Jig Saw tool to cut the squiggle. Like the circular saw, you’ll need to make sure your board is propped up.
HOW IT SHOULD LOOK AFTER IT’S CUT IF YOU PLACE OVER THE MIRROR:

RESUMING TUTORIAL:

Fourth step: Now that the squiggle is cut, you’ll finally have your frame. Now is the time to paint!!

Sixth step: After your paint is dry, you’ll want to attach the frame to the front of your mirror using glue or velcro. I used velcro to make it easier to remove the frame *just in case *I ever wanted to paint it again.
GET THE LOOK

AND THERE YOU HAVE IT!! Did you like this DIY? Will you be trying this out in your own home? Let me know down below!
xx, Chelsey



Amazing! Why dont you checkout For Framing in Surrey
Why in your tutorial did you leave the bottom of your mirror blank ? Was it your choice of style or did you leave out the bottom for structural purposes ?